A Single 1-Minute TSLA Candle Can Round-Trip A Whole Range By Itself, So Confirming It Like A 5-Minute Bar Gets You Run Over
When you see the nine setups built around how TSLA actually trades on the 1-minute chart, you will stop treating a single candle's close the way you would on a slower chart and start reading the tape underneath it instead.
You will know, before you are in the trade, why a 1-minute candle's wick can hide a full round trip that never shows up as a rejection, and which of your slower-timeframe habits get you filled at the worst possible print here.
Most 1-minute losses in TSLA come from confirming a level the exact same way you would on a 5-minute chart.
You will get an opening-print micro-range fade, tick-confirmed range edges, a VWAP micro-deviation snap-back, an order-flow imbalance reversal, and a spread-aware filter that tells you when to stand aside entirely.
You will see all nine setups in full, entry to exit, before you pay for a single one of them, one dollar unlocked at a time.
A 1-minute chart is not a faster version of the 5-minute chart.
It confirms differently, and it punishes hesitation differently.
Introducing The TSLA 1-Minute Range Setups Pack
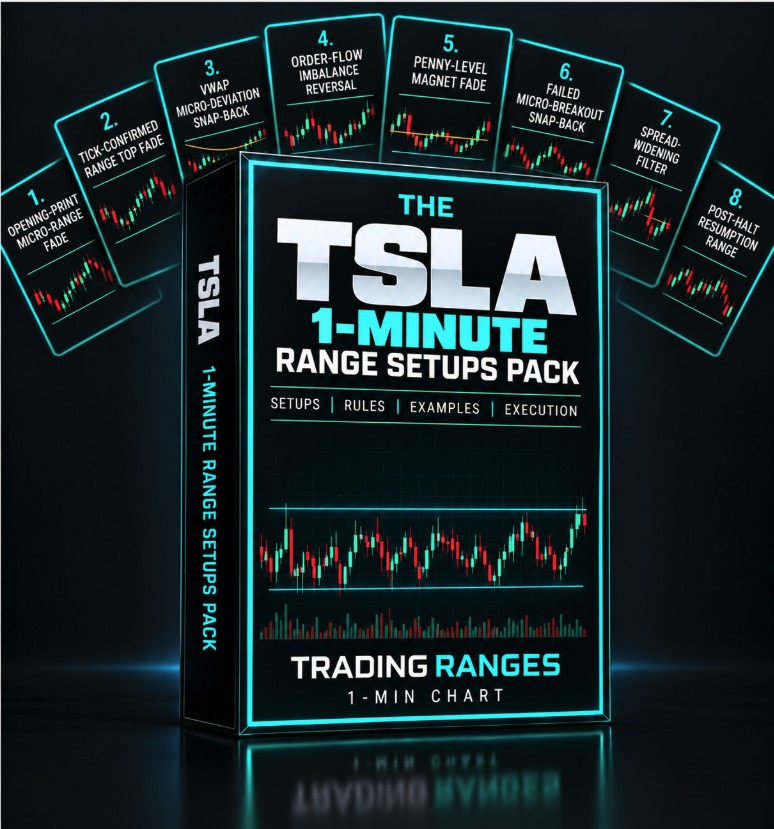
A Trading Ranges Setup Pack
The TSLA 1-Minute Range Setups Pack
Nine ways to trade TSLA's ranges on the 1-minute chart, built around tick-level confirmation and spread awareness the 5-minute and 15-minute packs never had to deal with.
- Setups9, each priced individually at $1
- FormatInteractive preview on this page, plus a printable PDF cheat sheet after checkout
- AccessInstant, right after checkout, yours to keep
- Built forTSLA specifically, 1-minute chart, its own fastest tick-level structure
- AuthorTradingRanges.com
$1 per setup, 9 setups, $9 total. Every setup is priced and shown to you before you pay for any of it.
Try It First
Preview Every Setup In This Pack
Click through all 9 setups below. Each card is the entry trigger, the confirmation, and the invalidation point, the same detail you get after checkout. The bar fills as you go, one dollar unlocked per setup.
What's Inside
All 9 Setups
- 01Opening-Print Micro-Range Fade. Fade both edges of the tight band TSLA settles into during its first one to two minutes, a range that forms and can be traded well before the 5-minute chart's own opening range prints its first full candle.1-min chart, first 1-2 minutes
- 02Tick-Confirmed Range Top Fade. Short a level only once the actual print sequence, not just the candle shape, shows sellers stepping in ahead of it on two separate approaches, since a single 1-minute wick can hide a full round trip a candle alone will not reveal.1-min chart
- 03Tick-Confirmed Range Bottom Bounce. Buy a level only once the actual print sequence shows buyers stepping in ahead of it on two separate approaches, not just a candle wick that happened to touch and bounce.1-min chart
- 04VWAP Micro-Deviation Snap-Back. Trade a small, fast departure from VWAP back toward it as soon as the move stalls, a quicker, tighter version of the chop this shop's 5-minute pack trades and a much shorter hold than the 15-minute pack's VWAP-anchored swing.1-min chart
- 05Order-Flow Imbalance Reversal. Trade the reversal once a run of aggressive selling at a level visibly exhausts and buy-side prints start outnumbering it, a read only available at a timeframe fast enough for the imbalance to still be tradable by the time it shows up.1-min chart
- 06Penny-Level Magnet Fade. Fade a fast, single-push approach into a round-dollar level TSLA has already respected earlier in the session, a magnet effect that resolves over a handful of 1-minute candles instead of the slower version the 5-minute pack trades.1-min chart
- 07Failed Micro-Breakout Snap-Back. Trade back toward the opposite side of the range the moment a 1-minute breakout attempt stalls and prints back inside within a candle or two, faster confirmation than either slower pack in this shop needs or gets.1-min chart
- 08Spread-Widening Stand-Aside Filter. Stand aside from every other setup in this pack the moment TSLA's spread widens beyond its normal range at a level, since a test that happens on a wide, thin spread is not a genuine test of demand or supply and should not count toward any of this pack's confirmation rules.1-min chart, risk filter
- 09Post-Halt Resumption Micro-Range. After a rare TSLA volatility pause, wait for the first minute of resumed prints to actually settle into a band before fading either edge, rather than assuming the pre-halt move is simply resuming.1-min chart, rare, after a volatility pause
RANGES
★
Certificate of Guarantee
60-Day, No-Questions-Asked
If The TSLA 1-Minute Range Setups Pack doesn't earn its place in your process, email us any time within 60 days of purchase for a full refund. No form to fill out. No reason required.

Backed personally by Jason Parker, founder of Trading Ranges. He built every setup in this pack himself, covered by the same guarantee above.
Instant Access
$9One-time payment. No subscription.
9 setups × $1 each = $9
Get Instant Access9 SETUPS · INTERACTIVE PREVIEW + PDF CHEAT SHEET · DELIVERED IMMEDIATELY AFTER CHECKOUT · 60-DAY GUARANTEE
A Few Notes On Trading TSLA's 1-Minute Ranges
Every setup in this pack assumes less patience is available on the way in, and more discipline is needed on the way out, than the 5-minute or 15-minute versions of this pack. A single 1-minute candle can print a full spike and a full round trip inside the same bar, so a wick here means something different than a wick on a slower chart, and a close alone is not enough to call a level confirmed.
The habit that separates a trader who makes money on TSLA's 1-minute ranges from one who gets ground down by them: watching the actual tick sequence and the bid/ask spread, not just the candle. A level that gets tested on thin, wide-spread prints is not the same test as one that gets tested on tight, heavy volume, even if the two candles look identical on the chart.
None of this is built for the opening 60 seconds of the session, an earnings reaction minute, or a scheduled macro release. Those windows are wide-spread, thin, and prone to single-stock volatility halts, and trading TSLA's 1-minute range mechanics into that kind of tape is a different, riskier game than what this pack is built for.
Common Questions
Why is this priced at $1 per setup?
Every setup in The TSLA 1-Minute Range Setups Pack is priced individually and added up. This pack has 9 setups, so it is $9 total, no more and no less. The interactive preview above shows every setup before you pay, so nothing is padded in to round out a bundle.
How is this different from the 5-minute and 15-minute TSLA packs?
This pack's setups are built for what actually changes at the 1-minute chart's own speed, not the slower packs' setups relabeled. A single 1-minute candle can contain a full spike and reversal that a 5-minute bar would smooth over entirely, so several setups here require a tick-level or multi-print confirmation instead of a single candle's close, and one setup exists purely to tell you when the spread has widened enough that the level is not worth trading at all. If you already own the 5-minute or 15-minute pack, this is a genuinely different, faster-tempo set of triggers, not a duplicate.
What timeframe is this pack for?
Every setup in this pack is built for the 1-minute chart specifically.
What do I actually get after I pay?
Instant access to a printable PDF cheat sheet with the entry trigger, confirmation, and invalidation point for all 9 setups in this pack, the same detail shown in the preview deck above, formatted for a second screen or the desk next to your monitor.
Is there a guarantee?
Yes. The same 60-day, no-questions-asked guarantee as everything else in the shop. Email any time within 60 days of purchase for a full refund.