USD/JPY Does Not Range Like EUR/USD, And Trading It Like A Normal Pair Is How You Get Run Over By A Government That Can Actually Move The Chart
When you see the eight setups built around how USD/JPY actually behaves between the sessions where nothing is happening, you will stop trading it like a calmer EUR/USD and start trading the yield-driven trend bias and intervention risk that make this pair genuinely different.
You will know how to trade with a widening US-Japan yield differential instead of fading it out of habit, how to read a level near a historically defended round number as intervention risk rather than an ordinary support or resistance test, and when a broad equity selloff is about to unwind carry positioning and send JPY strength through the chart fast.
Most range-day losses in USD/JPY come from fading a trend this pair was never going to give back easily.
You will get opening range fades, VWAP mean reversion, a BOJ intervention-level fade built around the pair's own history of government defense at extreme levels, a yield-differential trend continuation, a Tokyo-session compression setup, and a carry-trade risk-off unwind fade tied to broad equity selloffs.
You will see all eight setups in full, entry to exit, before you pay for a single one of them, one dollar unlocked at a time.
A quiet range in USD/JPY is not a broken setup.
It is often a trend catching its breath.
Introducing The USD/JPY Range Setups Pack
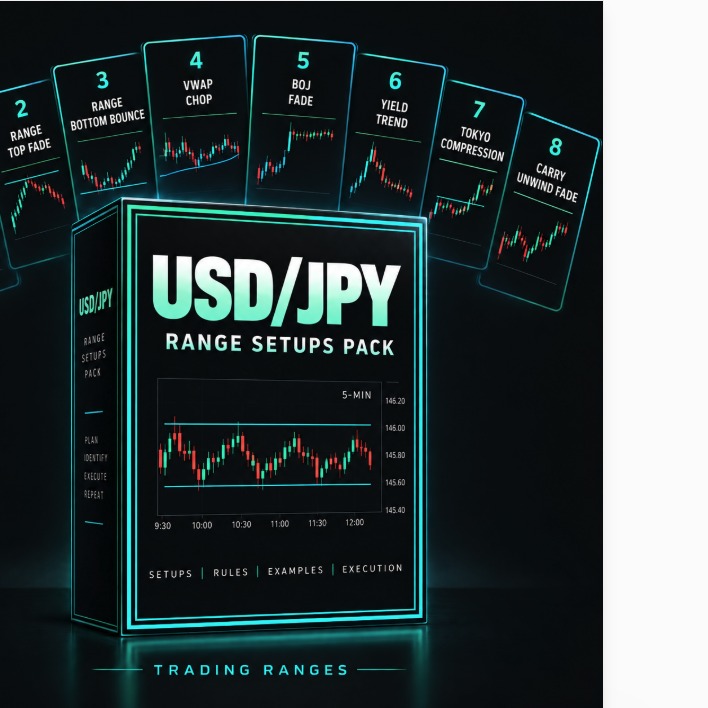
A Trading Ranges Setup Pack
The USD/JPY Range Setups Pack
Eight ways to trade USD/JPY when it is stuck between two levels, built around its own yield-differential trend bias, its intervention-risk levels, and the carry-trade unwind that hits it harder than almost any other major pair.
- Setups8, each priced individually at $1
- FormatInteractive preview on this page, plus a printable PDF cheat sheet after checkout
- AccessInstant, right after checkout, yours to keep
- Built forUSD/JPY specifically, hourly chart, using its own yield-differential trend bias and its own intervention-risk levels
- AuthorTradingRanges.com
$1 per setup, 8 setups, $8 total. Every setup is priced and shown to you before you pay for any of it.
Try It First
Preview Every Setup In This Pack
Click through all 8 setups below. Each card is the entry trigger, the confirmation, and the invalidation point, the same detail you get after checkout. The bar fills as you go, one dollar unlocked per setup.
What's Inside
All 8 Setups
- 01Opening Range Fade (No Breakout). Once USD/JPY's Tokyo-session open fails to produce a clean breakout, fade both edges of that range instead of assuming the day's trend will show up immediately.hourly chart, first 1-2 hours of Tokyo session
- 02Range Top Fade. Short at the top of a level USD/JPY has already rejected twice, so you are betting on sellers who already showed up, not a level that might hold this time.hourly chart
- 03Range Bottom Bounce. Buy at the bottom of a level USD/JPY has already held twice, the mirror of the range top fade, so you are never guessing which side of the range to trust.hourly chart
- 04VWAP Mean-Reversion Chop. Buy dips back toward VWAP once USD/JPY has spent the session oscillating around it, on a day when the yield differential is holding steady rather than moving.hourly chart
- 05BOJ Intervention-Level Fade. Trade a historically defended round level in USD/JPY as intervention risk first, expecting a sharp, fast two-way reaction rather than an ordinary technical fade.hourly chart, near a historically defended round level
- 06Yield-Differential Trend Continuation. Trade with a USD/JPY range break that lines up with a widening yield differential instead of fading it on the range-trading habit that works better on other pairs.hourly chart, checked against the US-Japan yield gap
- 07Tokyo-Session Compression Before London Handoff. Trade the shrinking oscillations that build through the late Tokyo session, since USD/JPY often compresses into the London handoff before the day's actual volume and direction arrive.hourly chart, late Tokyo session into the London open
- 08Carry-Trade Risk-Off Unwind Fade. Wait for a panic-driven carry-trade unwind spike to stall before fading it back toward the prior range, rather than trying to catch the falling knife as it happens.hourly chart, during a sharp broad equity-market selloff
RANGES
★
Certificate of Guarantee
60-Day, No-Questions-Asked
If The USD/JPY Range Setups Pack doesn't earn its place in your process, email us any time within 60 days of purchase for a full refund. No form to fill out. No reason required.

Backed personally by Jason Parker, founder of Trading Ranges. He built every setup in this pack himself, covered by the same guarantee above.
Instant Access
$8One-time payment. No subscription.
8 setups × $1 each = $8
Get Instant Access8 SETUPS · INTERACTIVE PREVIEW + PDF CHEAT SHEET · DELIVERED IMMEDIATELY AFTER CHECKOUT · 60-DAY GUARANTEE
A Few Notes On Trading USD/JPY's Ranges
USD/JPY behaves less like a typical mean-reverting currency pair and more like a slow-moving trend instrument, because its direction leans heavily on the gap between US and Japanese government bond yields. When that differential widens, the pair has tended to trend rather than chop, and a range-fade habit built on a pair like EUR/USD can fight that trend longer than it should.
USD/JPY carries a genuine, well-documented intervention risk that most major pairs simply do not have. At levels the Japanese government has previously defended, the market has to price in the genuine possibility of verbal warnings or actual currency intervention from Japanese authorities, producing sharp, fast, two-way volatility that behaves differently from an ordinary technical level.
USD/JPY is also unusually sensitive to broad risk sentiment because of its role as a funding currency in carry trades, where traders borrow in low-yielding yen to buy higher-yielding assets elsewhere. When equity markets sell off sharply, that carry trade unwinds fast, and JPY strength can spike through USD/JPY well beyond what a typical risk-off move would produce in a pair without that carry-trade dynamic.
Common Questions
Why is this priced at $1 per setup?
Every setup in The USD/JPY Range Setups Pack is priced individually and added up. This pack has 8 setups, so it is $8 total, no more and no less. The interactive preview above shows every setup before you pay, so nothing is padded in to round out a bundle.
Do these setups work on other yen pairs or major forex pairs, or only USD/JPY?
They are built around USD/JPY's own behavior specifically, its yield-differential trend bias, its intervention risk, and its carry-trade sensitivity. The opening range, VWAP, and range top and bottom setups generalize to other liquid pairs, but the intervention, yield-differential, and carry-unwind triggers are tuned for USD/JPY.
What timeframe is this pack for?
Every setup in this pack is built for the hourly chart, a timeframe well suited to USD/JPY's own tendency to trend for extended stretches rather than whip back and forth intraday.
What do I actually get after I pay?
Instant access to a printable PDF cheat sheet with the entry trigger, confirmation, and invalidation point for all 8 setups in this pack, the same detail shown in the preview deck above, formatted for a second screen or the desk next to your monitor.
Is there a guarantee?
Yes. The same 60-day, no-questions-asked guarantee as everything else in the shop. Email any time within 60 days of purchase for a full refund.